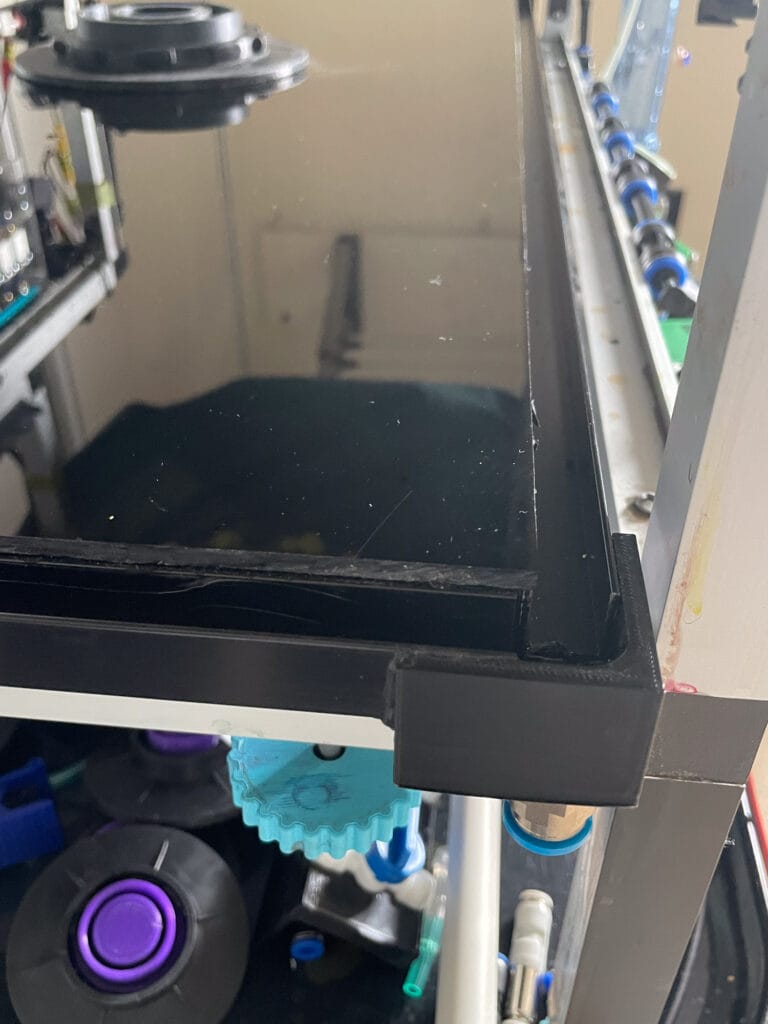
Drop Trays and Collars
I have made a couple different trays and they are both designed to sit and lock into my waterdrop stand. After the tray which is 900mm x 425mm is locked in place I am able to utilise a large adjusting screw on each corner of the stand. Even though the tray is made of 6mm acrylic the tray will flex in response to the adjustment screws – comfortably enough to allow me align the SFB jet truly perpendicular. (The actual fountain housing is firmly locked into the tray and has no separate adjustment).
One of the trays has 50mm sides, although the back is only 40mm high and that allows the full tray of water to flow over the back edge and into a drain channel. The other tray is basically a flat sheet with a drain channel around the full perimeter but has no upright sides. I did this because many of my photographs are not taken with any water in the tray and if I had a back lip, it would sometimes affect the nice clear “horizon”, especially if there was a backlit background.
This is my flat tray and you can also see the blue corner adjusting screws. At the bottom of the photo is one of the rubber feet I use to support a black acrylic sheet which is same size as the tray but has a hole just large enough for the actual fountain output.
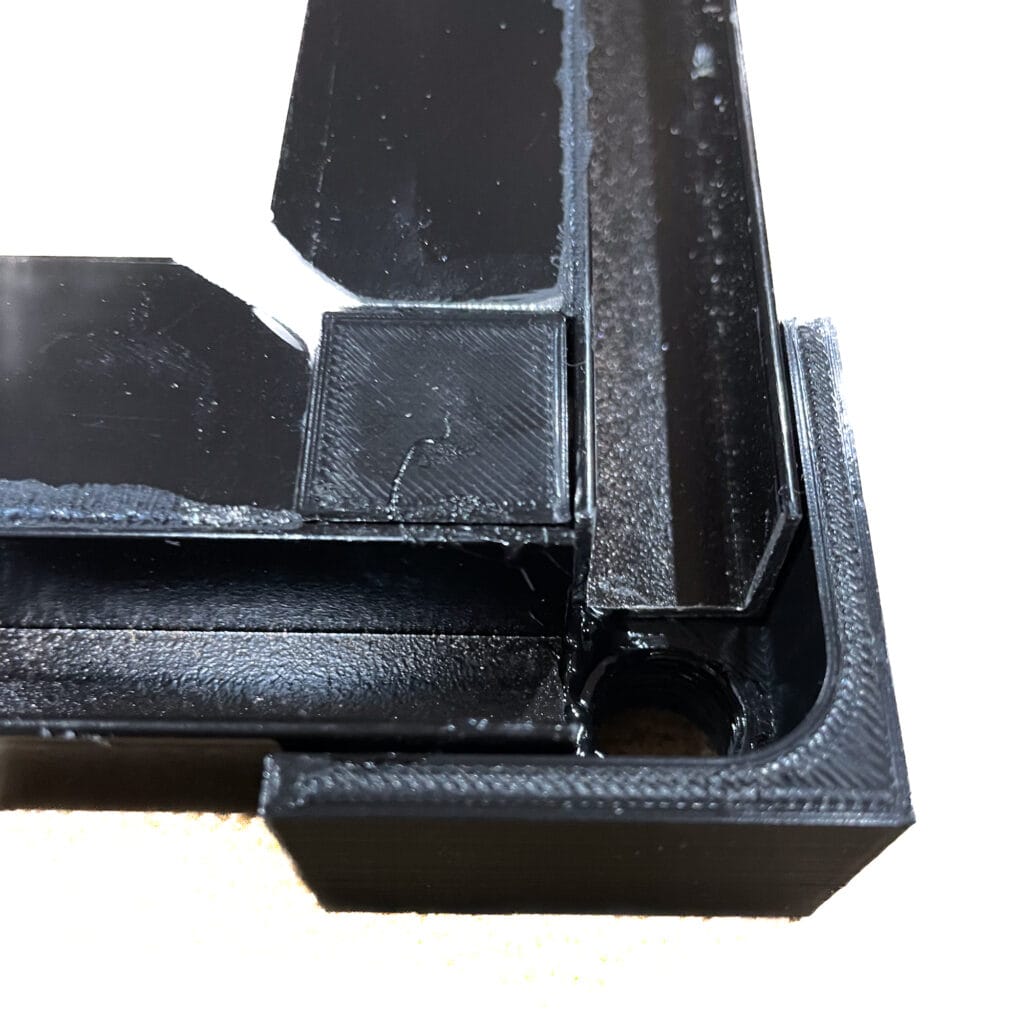
This shows the plastic corners I made for this tray. Each corner has a thread for a hose fitting. I used 17mm “U” shaped channel and glued on the inner angled lip. Then the acrylic sheet was fixed in place, as well as the four corner adjuster ball sockets.
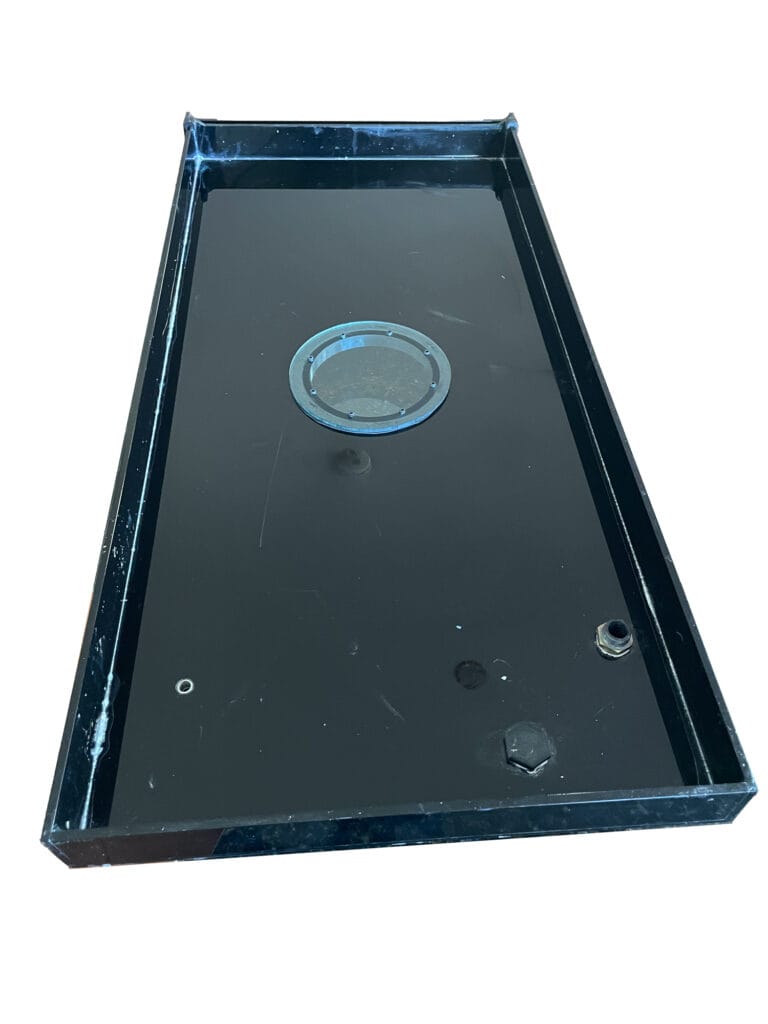
My other tray, apart from the sides, has a 135mm hole in the centre which I can fit with a choice of different inserts. This particular photo shows a clear acrylic insert to allow lighting from the underside.
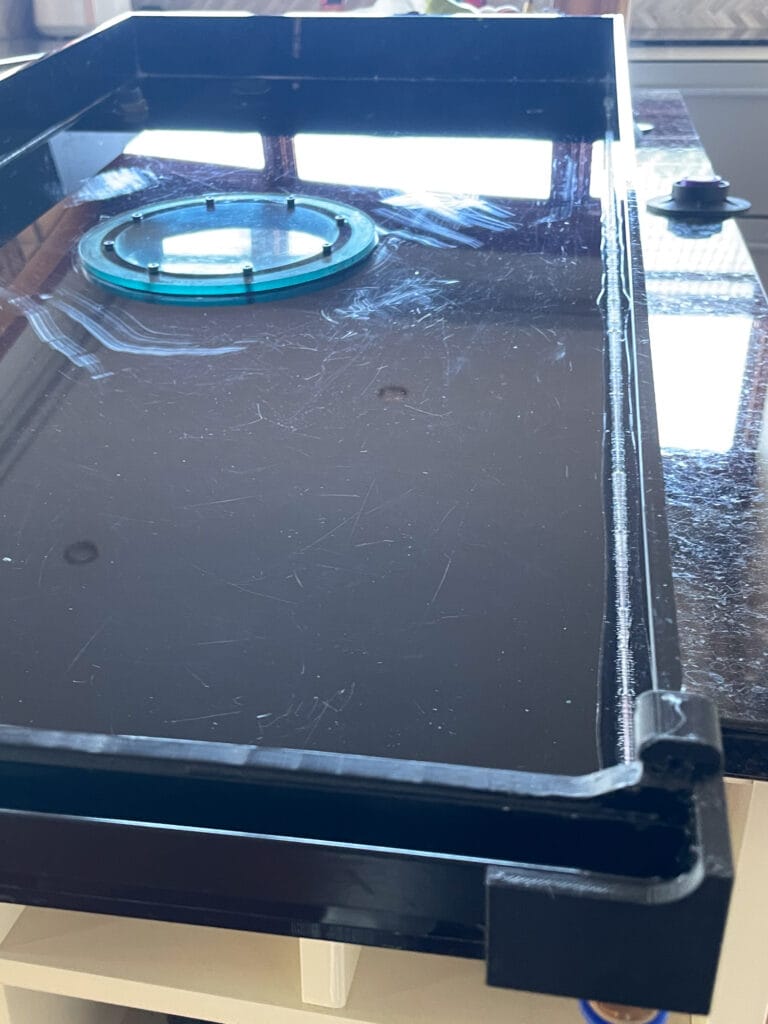
This angle shows the lower back lip and also the channel that acts as a drain. Water height is 40mm before it starts to flow over into the drain. There is a proper drain hole at the front for when I need to empty the tray.
Most of the interchangeable collars haven’t been used yet. I tend to come up with an idea then follow up by designing it and then by the time I am printing it I have already thought of something else I want to make 😂. Lots of tinkering but not much photography lately.

This is an insert that I did use a few years ago for a S.F.B. jet before I modified my drop stand to do the actual adjustment. I designed the collar so I could mount the adjustable tripod head. The threaded centre tube exited out of a rubber flange which compensated for any movement whilst also keeping the tank watertight.


My upper bank of solenoids allows me a pretty flexible choice of drop formations. I made a number of detachable tubes that can be screwed into the underside. The tubes incorporate resin printed tops which are actually ball and socket swivel joints (and waterproof). They each have 6mm brass tube outlets which I can then fit any of a vast number of nozzle shapes to. I can then also fit a centre tube which allows me to fit a lot of my other nozzles.


This is a slightly different version of the previous collar. The ball socket swivel joint is on top of the collar rather than being incorporated in each tube on underside. I also have made a set of small diameter spinners because each outlet can include a fountain and SFB. For the centre I have designed it to match the nozzle fittings that Markus Reugels designed.

I just wanted to elaborate on the subject of Markus’s design. I purchased his fountain assembly and a number of extra nozzles maybe 2-3 years ago. It was after receiving his fountain I was inspired to learn how to do 3D design and 3D printing. I initially intended to try and make some additional nozzles to use with his fountain but my fascination with design and printing took over and whilst I developed my own modular system which has numerous configurations, I still utilise an adaptor so that sometimes I can use a nozzle with Markus’s fitting if I choose to.