How To Use Your Fountain
- Before you start aligning the fountain and the drops my process is to just test fire the various solenoids individually to check that the air pressure is close to what is needed. This fountain really doesn’t need a lot of air pressure so start low and work up. At this stage I usually place something to contain any over spray.
- Using a large syringe pump I preload both the inner and outer chambers with a single-coloured liquid and just have the other inlets plugged.
- I always start the timings with a 100ms sync delay at the start. This gives me the flexibility to move delays either way rather than having to alter the flash timing to make changes.
- The inner nozzle shape will not only be affected by your liquid viscosity and air pressure, but it will change depending on how far you have screwed the nozzle in, which controls the amount of liquid flowing over the nozzle. The outer nozzle required pressures could change with nozzle selection. It depends on how much liquid is able to flow out the holes or slot ie: the spiral nozzle will need more pressure than one with only a few outlets.
- Once I am happy with how each chamber is working individually, I then change the controller to activate all the fountain nozzles. I always make a slow-motion video so I can immediately see how and when both the inner and outer fountains form. I can then adjust the timings to suit.
- I always use Carboxymethyl Cellulose (CMC) as the thickening agent for fountains. I mix it at 1:400 – 1:500 with water. I like it a bit more viscous than usual dropping mix because it helps contain any “spray” like you might get with a less viscous mix.
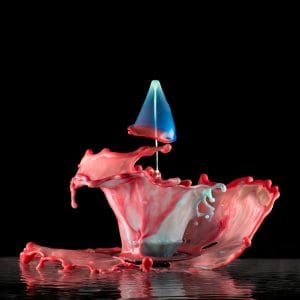
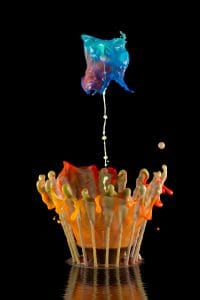
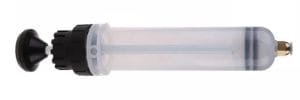
- Due to the added amount of liquid used for fountains and the need to top up the fountain before each shot, I use a large 200mm syringe for each chamber. Mine were purchased from an auto accessory store (advertised as an oil sump pump). They came with a 6mm quick connect fitting installed so it was a simple addition. I added a small on/off quick connect tap to the tubing so that I could easily disconnect the syringe when I needed to refill it. With all my recent fountain shots I just use a light pastel colour and achieve all the different colours by injecting a small amount of coloured liquid via the other inlets. (see figure 1: below)
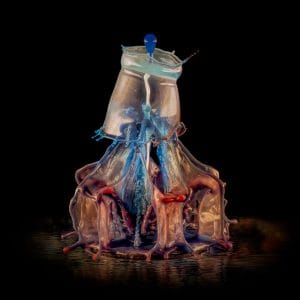
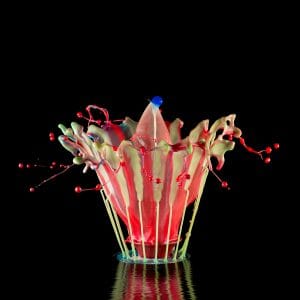
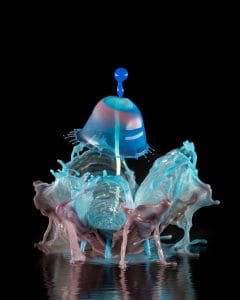
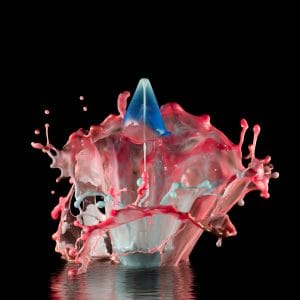
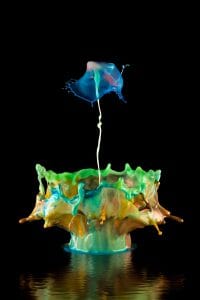
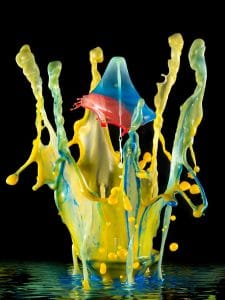
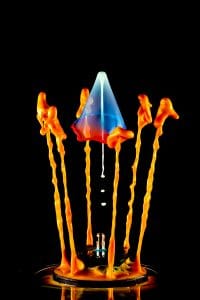
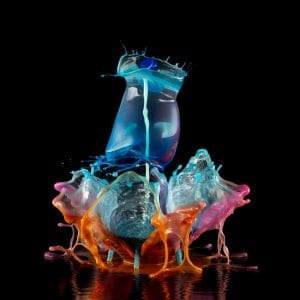
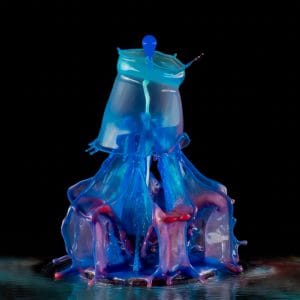
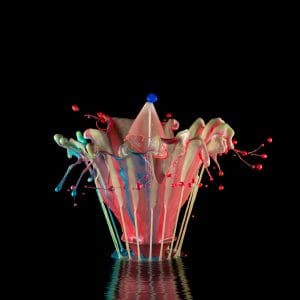
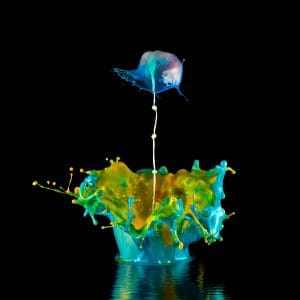
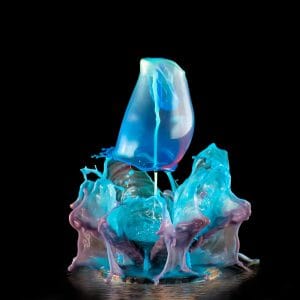
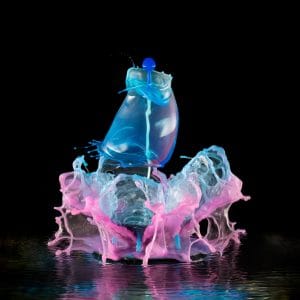
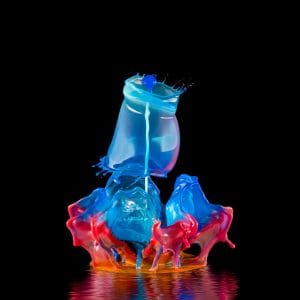
- Printing and assembling the fountain was leisurely done in a couple days and then I spent a day testing the completed fountain. I didn’t test all the nozzles or combinations, but I was happy with how easy it was to achieve satisfying results. I didn’t concentrate too much on the SFB jet and collision other than to ensure it was easy to align. I have attached some images from that session. Both the inner and outer fountain tubes were only filled with a single colour, usually an off-white. All the extra colours were achieved by simply adding additional colours via the other inlet top inlet ports. For some photos I just used a syringe to squirt the different colours around the top of the nozzles
This is a video I made when testing a different fountain assembly but it demonstrates the mess that you can expect and the larger amount of liquid you can expect to use with fountains. I usually have an acrylic sheet that I can remove after each capture for cleaning then replace for the next photo.